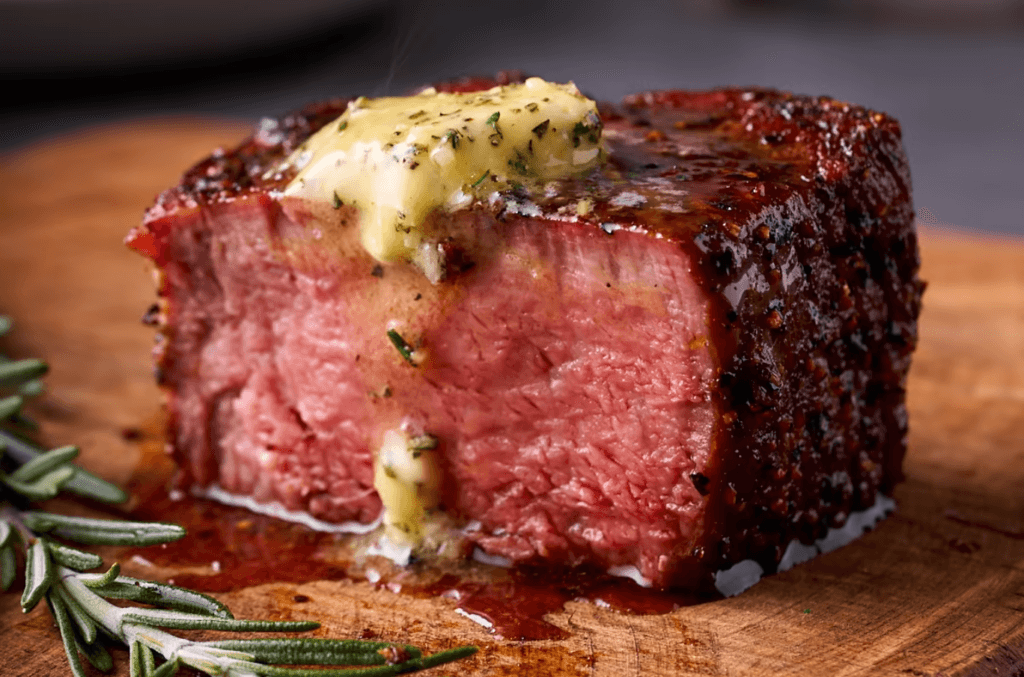
Dreaming of a steak cooked to absolute perfection? Imagine a glistening crust that yields to a juicy, melt-in-your-mouth center. This isn’t just a dream – it’s a reality achievable with the reverse sear steak technique. Forget the days of unevenly cooked ribeye steaks! This guide will walk you through the entire reverse sear steak process, from selecting the ideal cut to mastering the final sear. Prepare to revolutionize your steak game and impress dinner guests with restaurant-worthy results!
Understanding Reverse Sear
When it comes to achieving steak perfection, nothing beats the reverse sear method. Picture this: instead of the traditional approach where you sear the steak first and then pop it into the oven, the reverse sear flips the script entirely.
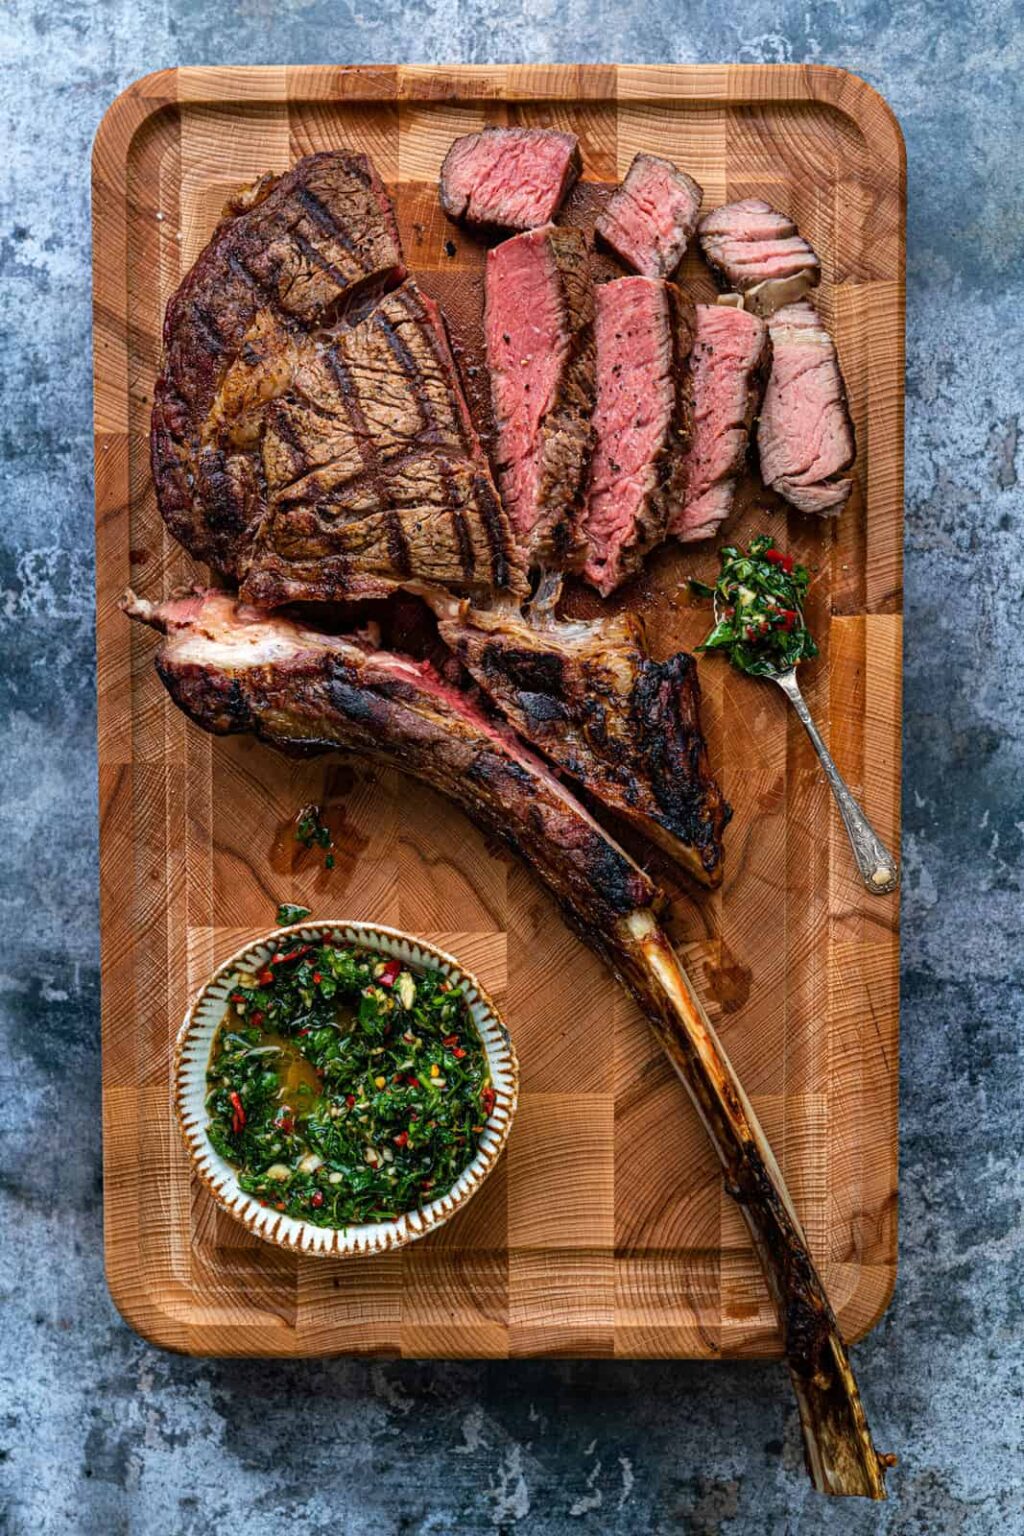
With this technique, you start by giving your steak a gentle, low-temp roast in the oven. This slow cooking allows the heat to penetrate evenly, ensuring that every inch of your reverse sear cooks to perfection. Then comes the exciting part: the high-heat sear. This final step locks in all those delicious juices and adds that irresistible caramelized crust to your steak.
The result? A reverse steak that’s tender, juicy, and bursting with flavor from edge to edge. So, if you’re looking to elevate your steak game and impress your taste buds, it’s time to give the reverse sear method a try!
Selecting the Perfect Cut
Fire up your inner grill master because the reverse steak adventure begins with the perfect cuts of a steak! Forget about grabbing any old steak – the key to reverse sear success lies in selecting a cut specifically designed to excel with this method.
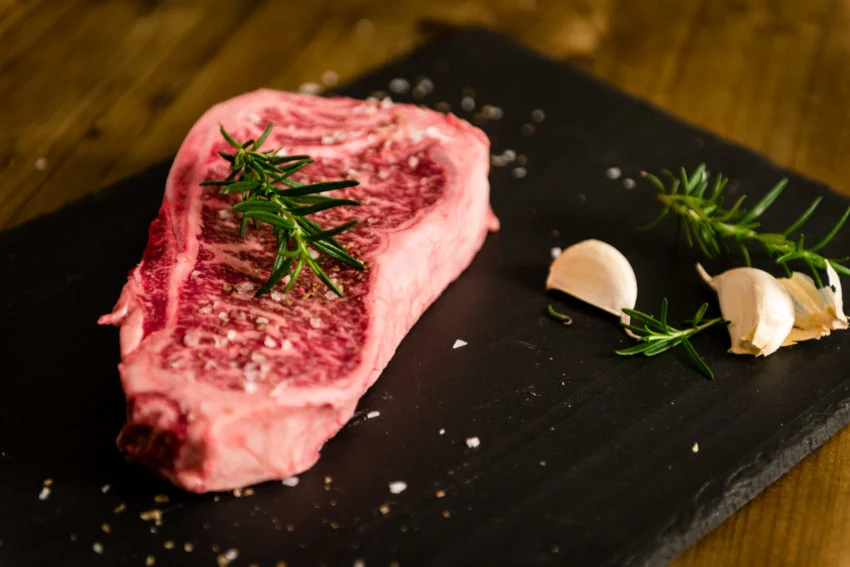
Here’s where marbling becomes your best friend. Look for cuts like ribeye or New York strip, where beautiful streaks of fat (marbling) weave through the meat. This marbling isn’t just for show; it’s the secret weapon of a phenomenal reverse sear steak. As your steak cooks, this marbling melts, infusing incredible flavor and keeping it incredibly juicy and tender.
So, next time you’re at the butcher shop, seek out those well-marbled cuts of a steak. A happy reverse sear steak is a juicy, flavorful one, and it all starts with the right choice at the beginning!
Preparing Your Sear Steak for Flavorful Perfection
Before diving into the reverse sear process, it’s essential to give your meat the royal treatment it deserves. And that starts with proper steak seasoning.
Begin by generously steak seasoning with kosher salt and freshly ground black pepper. These two ingredients may seem basic, but they’re the foundation of flavor. Don’t be shy with the steak seasoning – you want every bite to be packed with deliciousness.
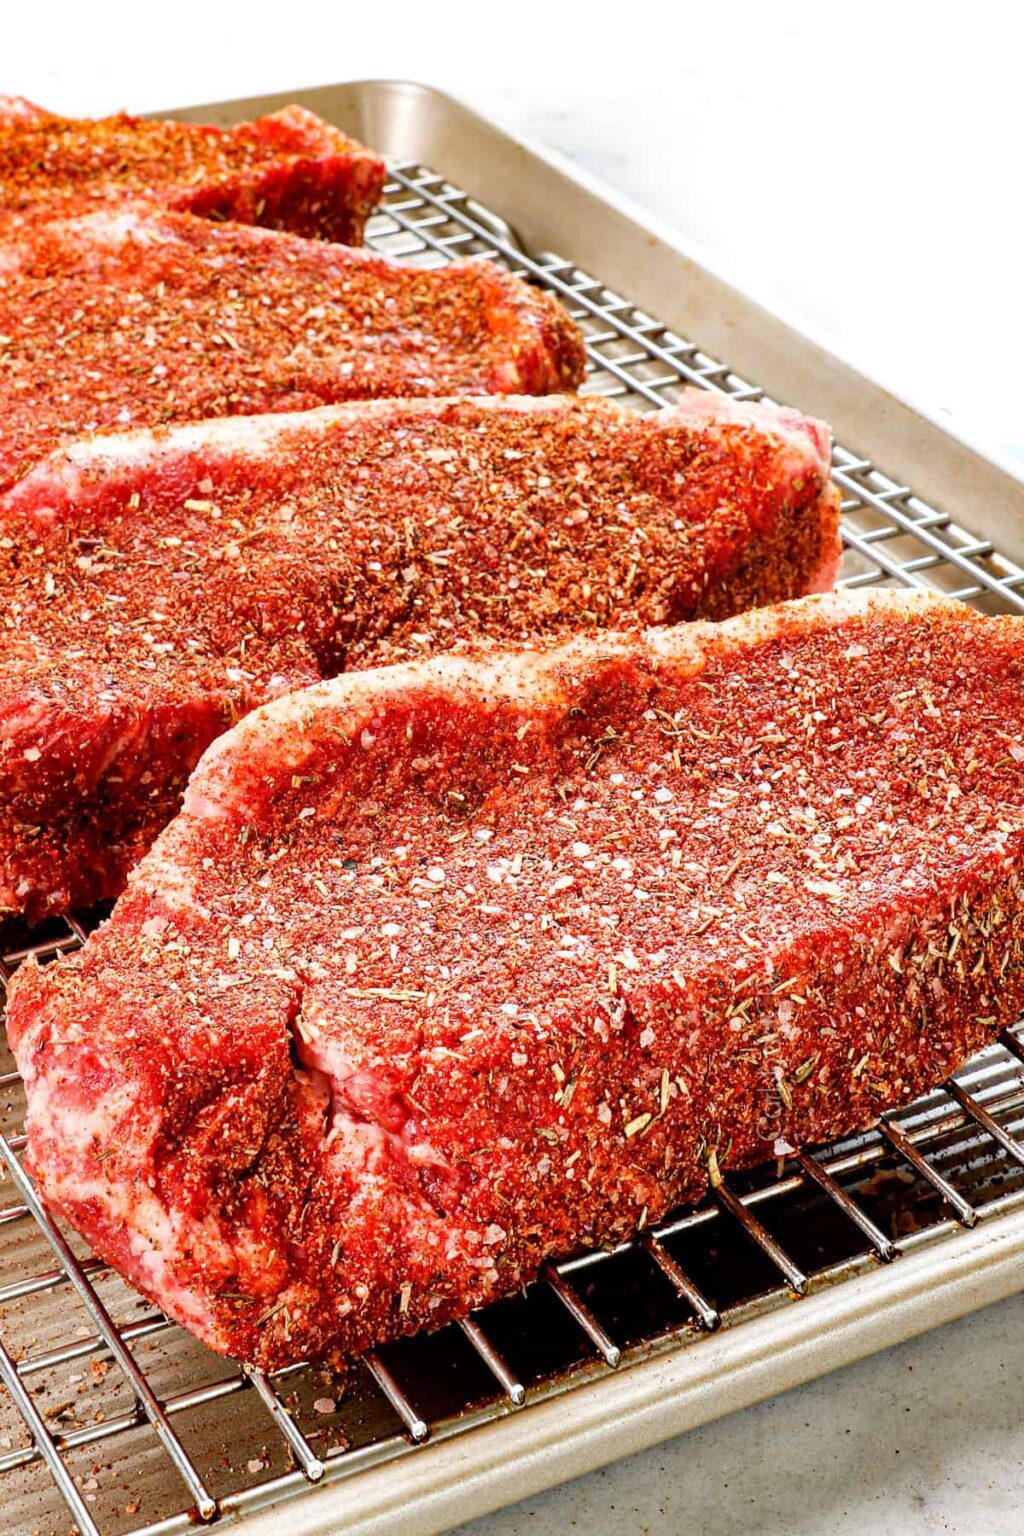
But why stop there when you can take your reverse sear steak to the next level? Consider adding a sprinkle of your favorite herbs and spices to the mix. Whether it’s aromatic rosemary, pungent garlic, or smoky paprika, the choice is yours. Just remember to keep it balanced; you don’t want any one flavor overpowering the others.
Once your steak is seasoned to perfection, let it rest at room temperature for at least 30 minutes before cooking. This allows the seasoning to penetrate the meat, ensuring that every bite is bursting with flavor.
Cook Steak in Oven
When preparing your reverse sear steak, the oven plays a crucial role in achieving the perfect cook. The key is to follow the “low and slow” method for even cooking. Preheat your oven to a gentle 275°F (135°C), allowing the steak to cook gradually. Keep an eye on the steak doneness temperature to ensure it reaches your preferred level. Monitoring the steak internal temp. throughout the process guarantees a tender, juicy bite every time.
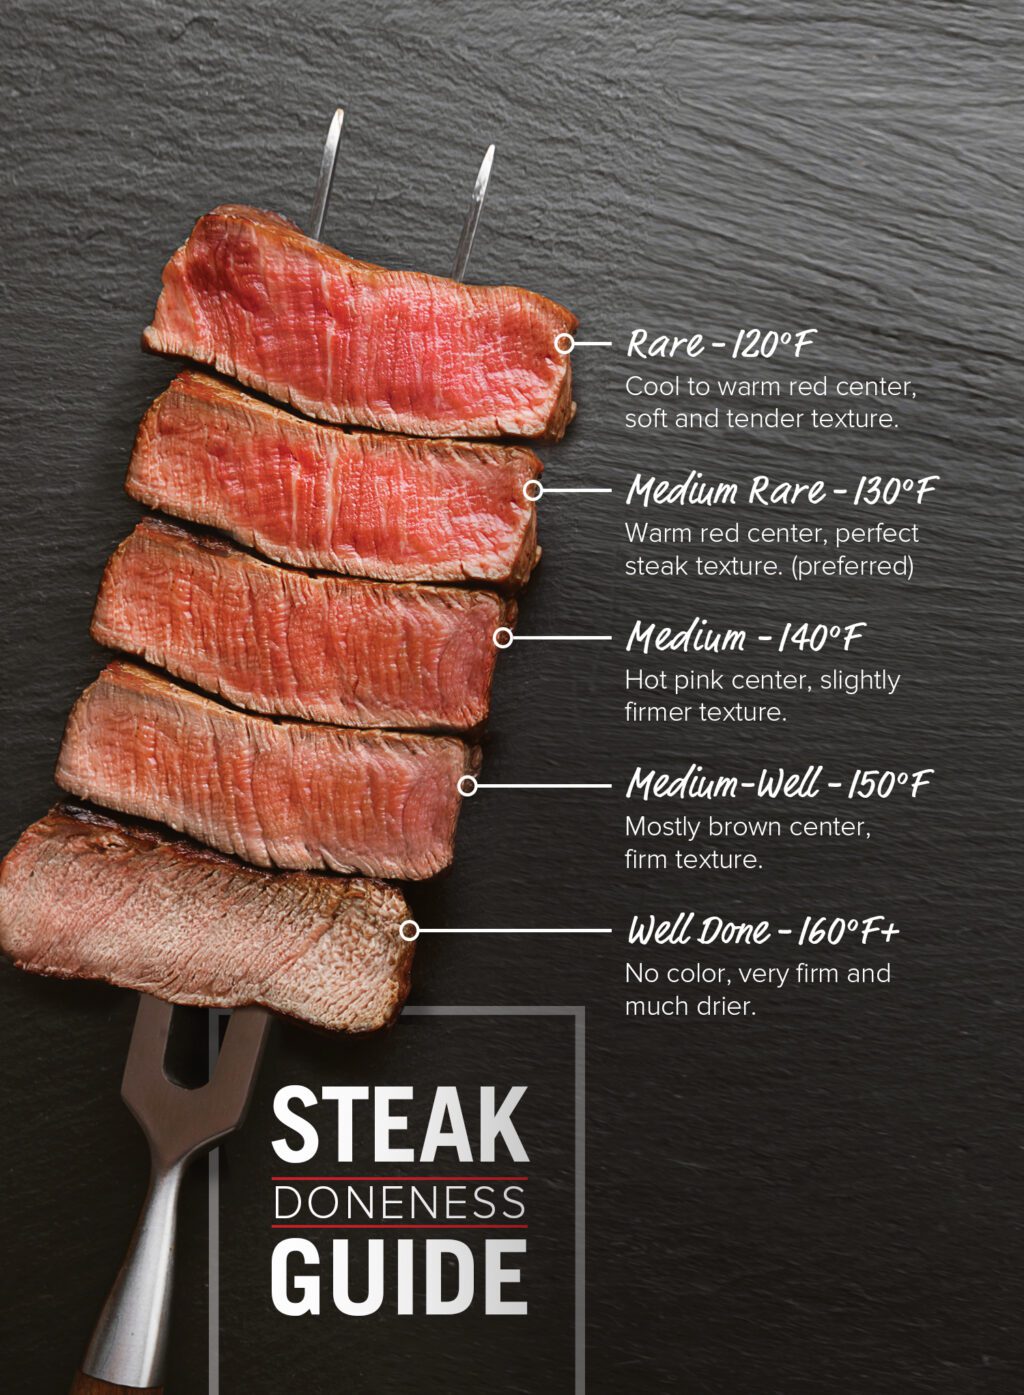
Next, prepare your reverse sear steak for its journey to flavor town. Place the seasoned steak on a wire rack set inside a baking sheet. This setup allows for optimal air circulation around the reverse sear steak, promoting even cooking and ensuring that every inch is cooked to perfection.
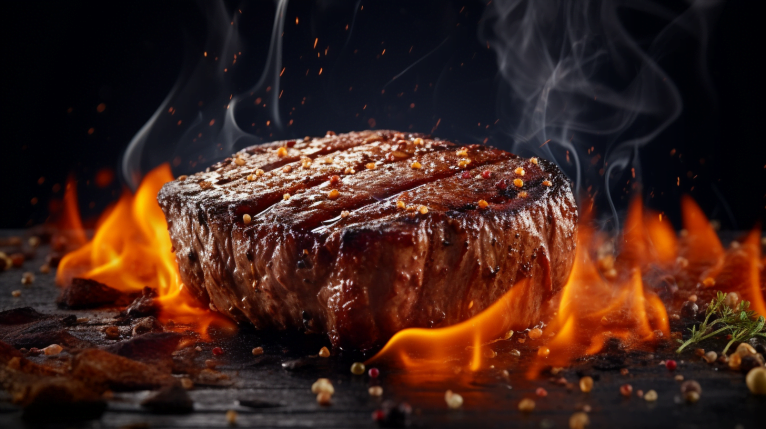
Now, let the magic happen by placing your steak into a preheated oven. Allow it to roast until it reaches an internal temperature about 10°F (5°C) below your desired doneness. If you prefer a fully cooked steak, keep an eye on the steak well done temperature to achieve the perfect result.
This gradual cooking process allows the flavors to develop and the meat to become beautifully tender, setting the stage for the final sear. So, trust in the power of low and slow roasting, and get ready to elevate your reverse steak game to new heights.
Perfecting the Final Sear
Welcome to the grand finale of reverse sear ribeye steaks perfection – the final sear. This is where your reverse sear truly shines, boasting a tantalizing blend of flavor and texture that will leave your taste buds singing. To achieve that coveted sizzle and char, you’ll need to follow a few key steps.
Preheat your cast iron skillet until it reaches a smoking hot temperature—this is the key to achieving a beautifully seared crust on your steak in cast iron skillet. The intense heat ensures a rich, golden-brown finish packed with flavor.
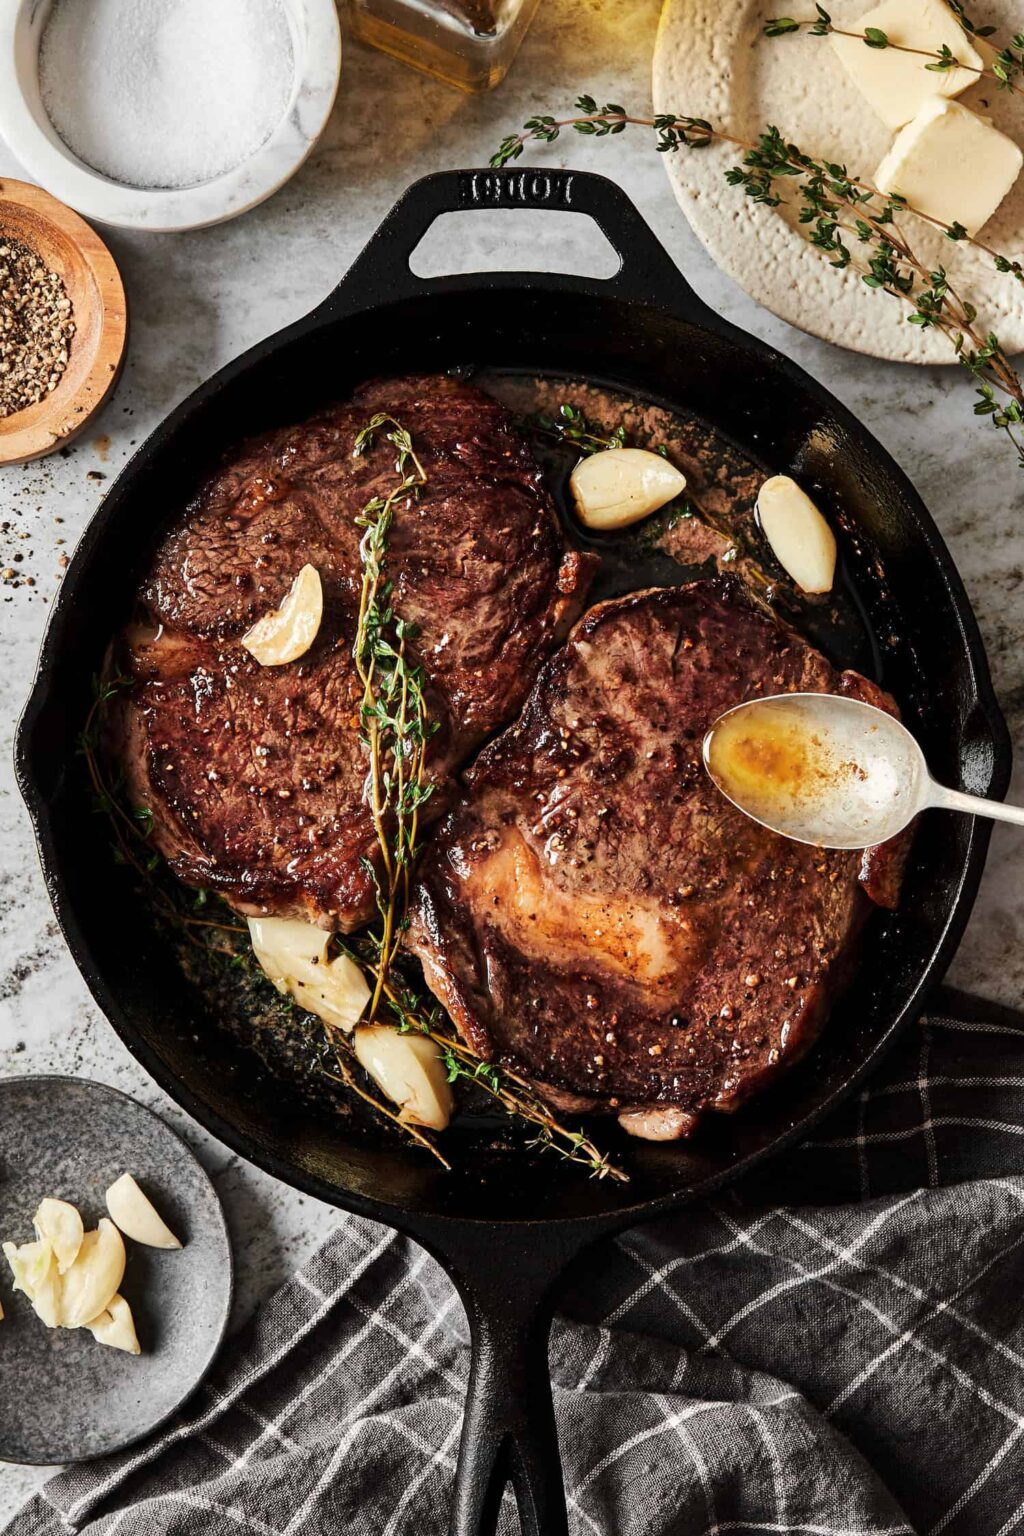
Once your skillet is properly heated, it’s time to add a touch of oil or butter to prevent sticking and enhance the flavor. For an extra flavor boost, toss in some onion shallots and garlic buds to infuse the oil with aromatic goodness.
Carefully place your seasoned steak in the pan, taking in the satisfying sizzle as it hits the surface. Resist the temptation to move or flip the steak too soon – let it sear undisturbed for 1-2 minutes on each side.
As the steak cooks, drizzle some hot aromatic oil over the top to further enhance the flavor profile and create a mouthwatering caramelization.
Once both sides are perfectly seared to your liking, it’s time to revel in the glory of your masterpiece. Grab your tongs, embrace the sizzle, and prepare to indulge in steak perfection at its finest.
Resting and Serving
Now that your steak has undergone the final sear, it’s time to exercise a bit of patience for maximum flavor payoff. Removing the steak from the pan, resist the urge to immediately slice into it. Instead, allow it to rest for a few precious minutes.

This resting period is crucial as it allows the juices within the reverse steak to redistribute evenly, ensuring each bite is succulent and bursting with flavor.
As the steak rests, the residual heat continues to work its magic, further tenderizing the meat and enhancing its juiciness. This simple yet essential step can make all the difference between a good steak and an extraordinary one.
Once the resting period is complete, it’s time to serve up your reverse sear masterpiece. Pair it with your favorite sides – whether it’s a creamy mashed potato, crisp garden salad, or buttery roasted vegetables – and prepare to savor every delectable bite.


